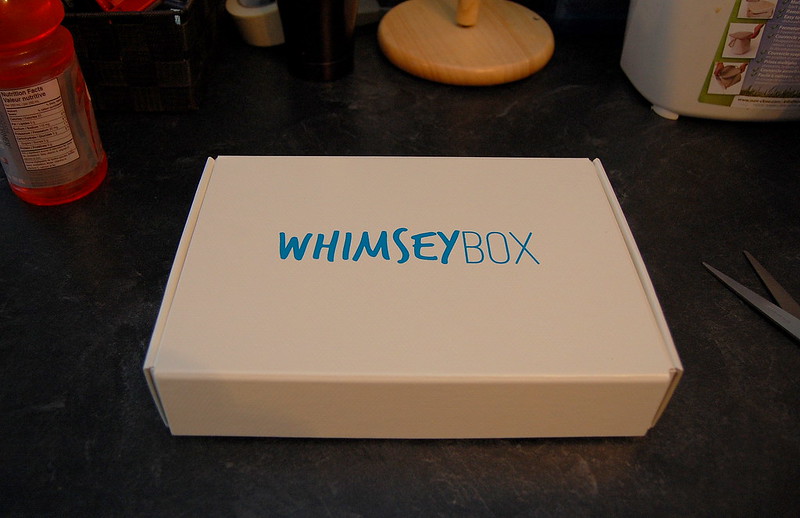
There's this rad company in the called Whimseybox, (you may remember my blog post about founder Alicia DiRago) which will send you a box each month filled with items you'll need to complete an awesome DIY craft.
I had the pleasure of receiving my very first box at the beginning of October. It's packaging was absolutely splendid.

And the box itself is a VERY useful storage container for this project and the rest of my stamps.
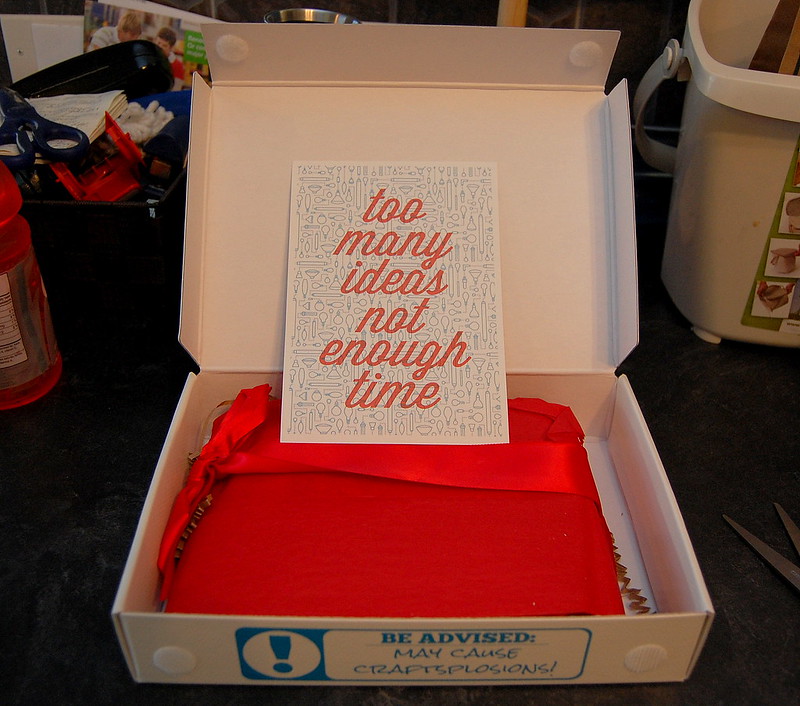
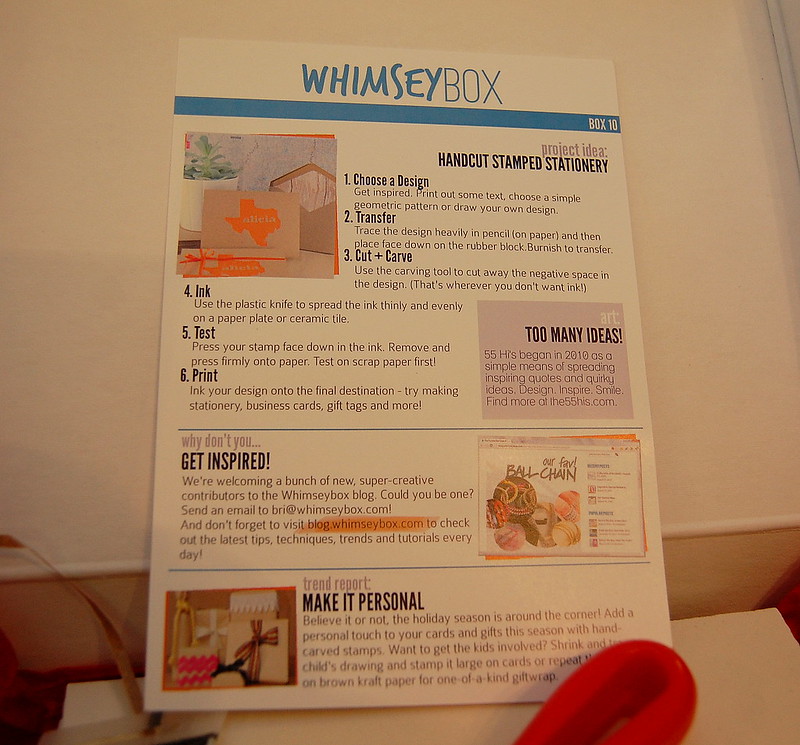
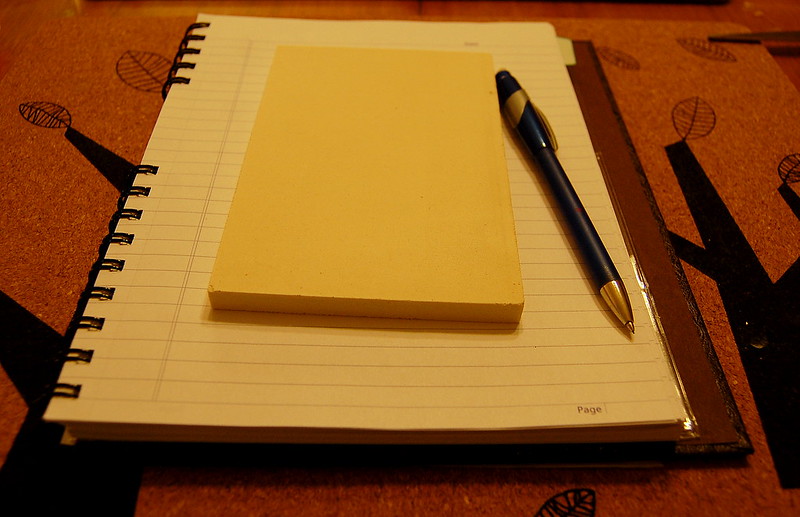
The craft this month: Hand-carved Stamps. Within the box there were a set of instructions, a piece of rubber, ink, 5 cards and envelopes, a spatchula thingy, and a very nice carving gouge.

First order of business was to find a design that wasn't too intricate so I could actually manage to carve it out of the rubber. Having never used a carving gouge before I was skeptical I could pull this off.
I decided to go with my tried and true toilet paper roll flower, which I've done before here and here.
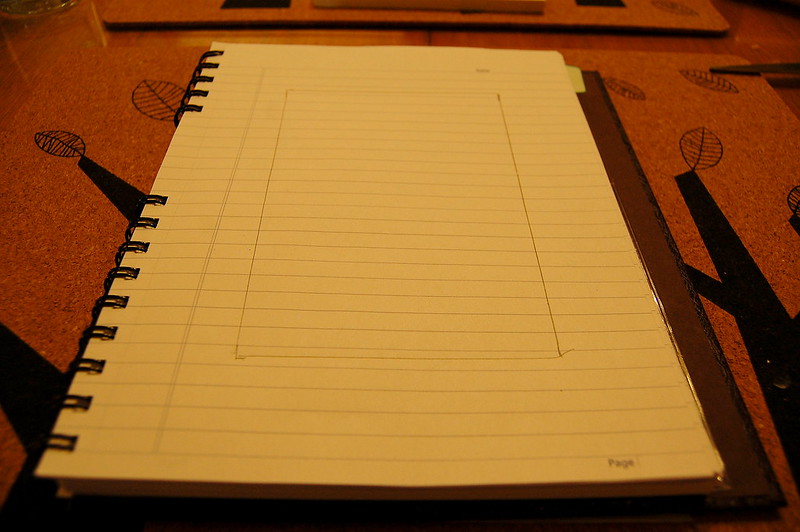
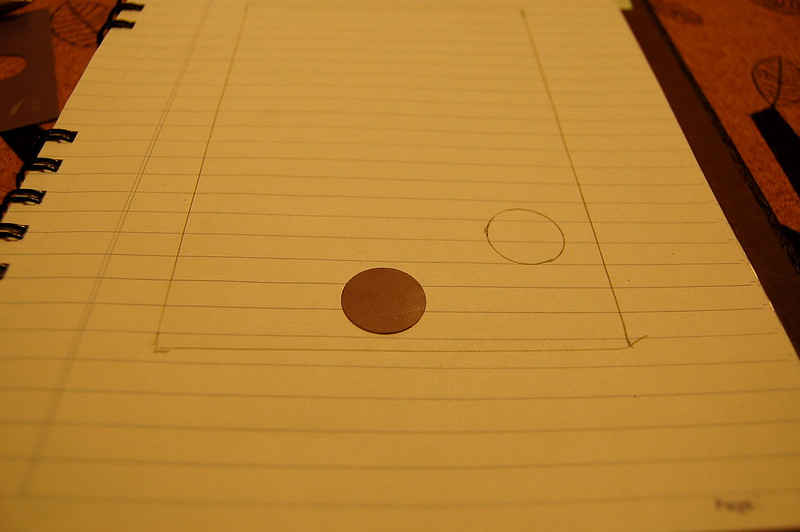
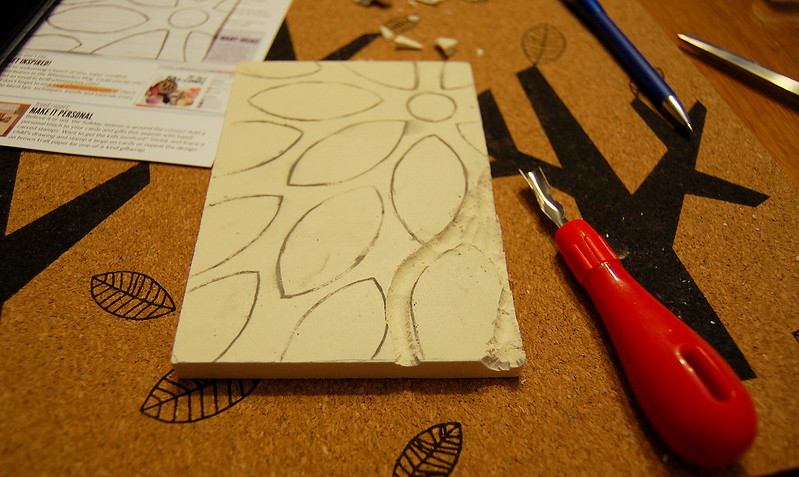
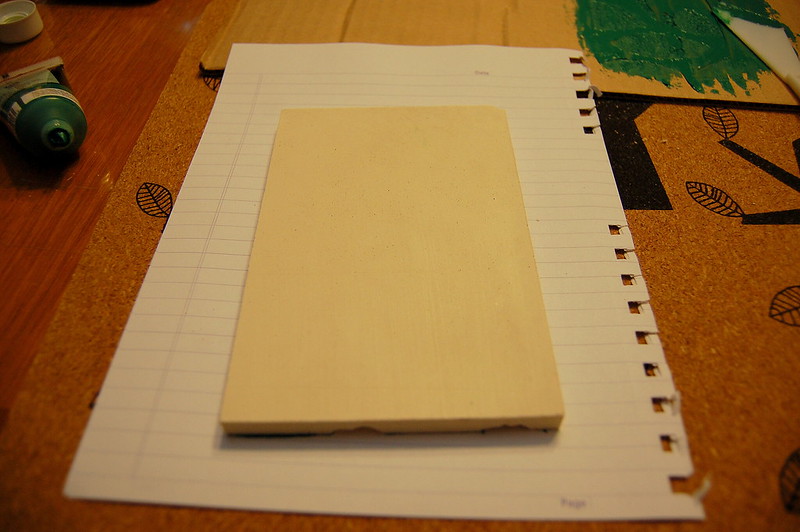
Firstly I traced the rubber block on a piece of paper.
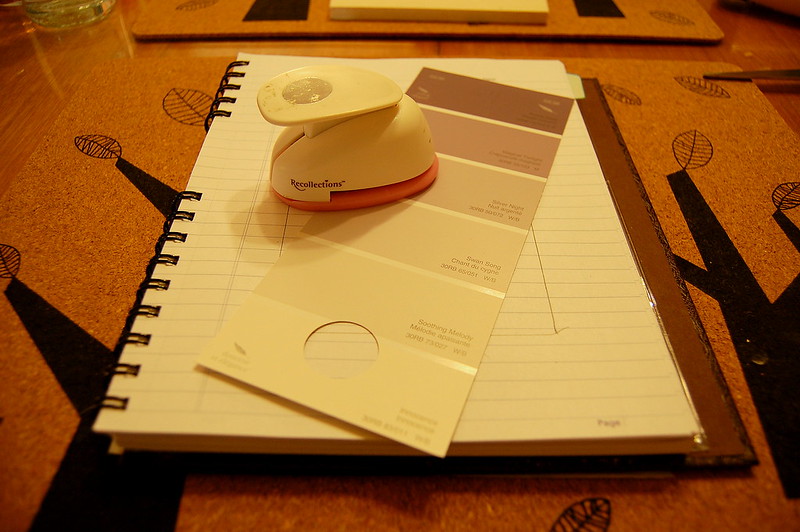
Then I placed the centre of my flower using my trusty hole-punch and a paint sample.
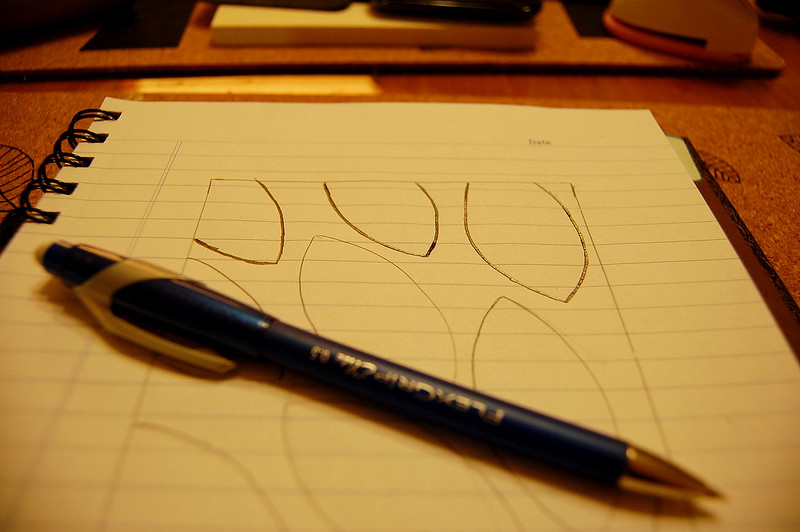
Then I started tracing (must be with pencil!) the petals with a piece of folded toilet paper roll.


Then you have to go back over all the lines with your pencil so they're really dark - this will help the design to transfer onto the rubber.

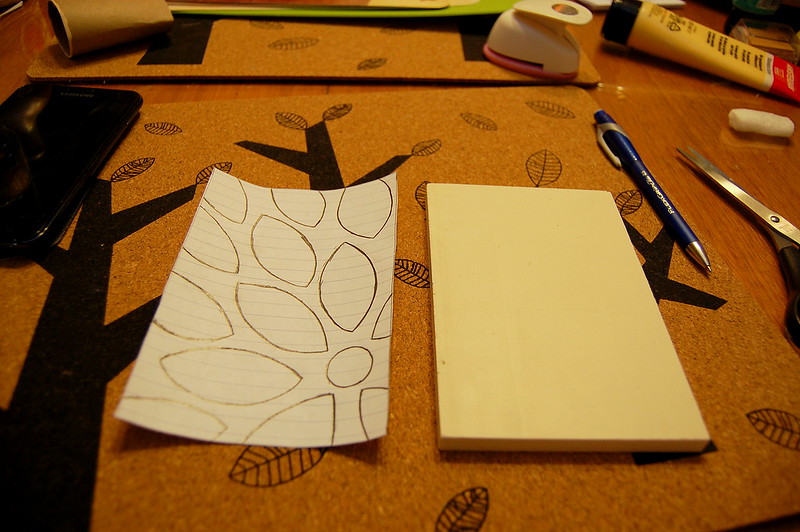
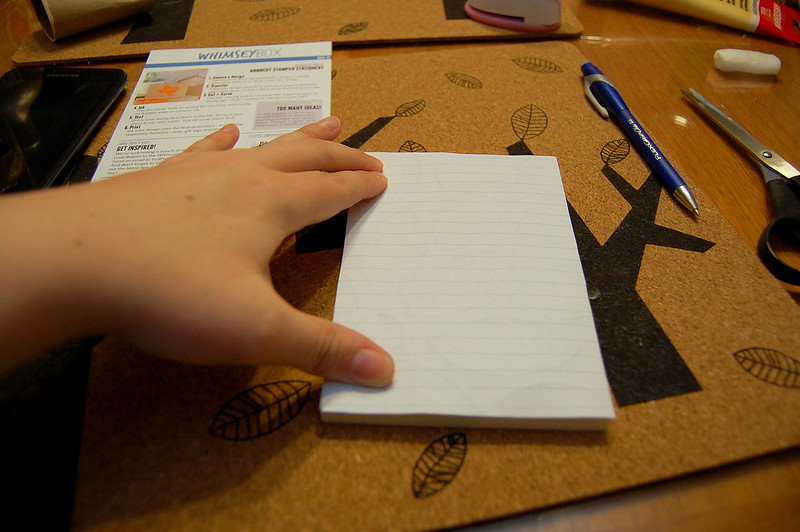
When you remove the piece of paper, the design should now be transferred onto your piece of rubber!

Now here comes the difficult part; and it was only difficult because I had never used one of these gouge tools before. It reminded my of my first foray into using a razor to cut out intricate design.
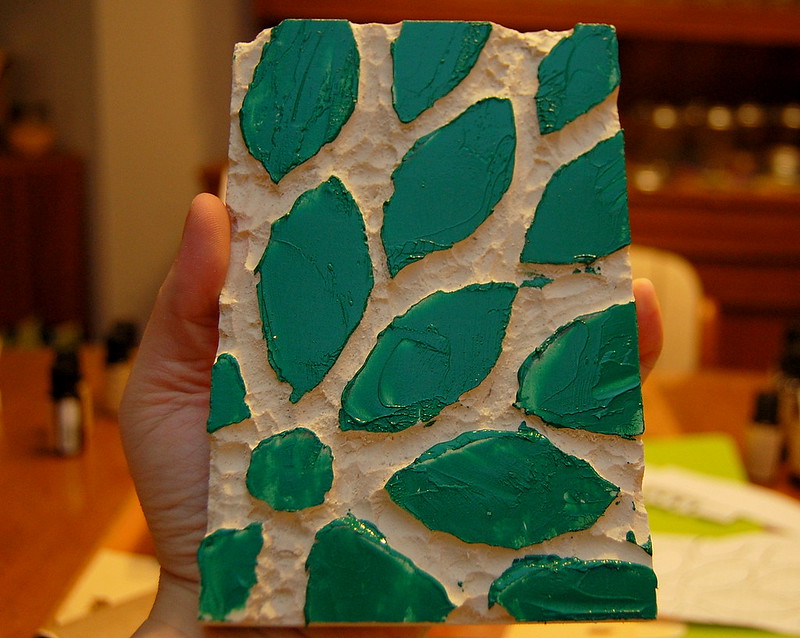
Start carving out all the negative space; so anything you don't want ink to get on.
Yeah, things got pretty messy
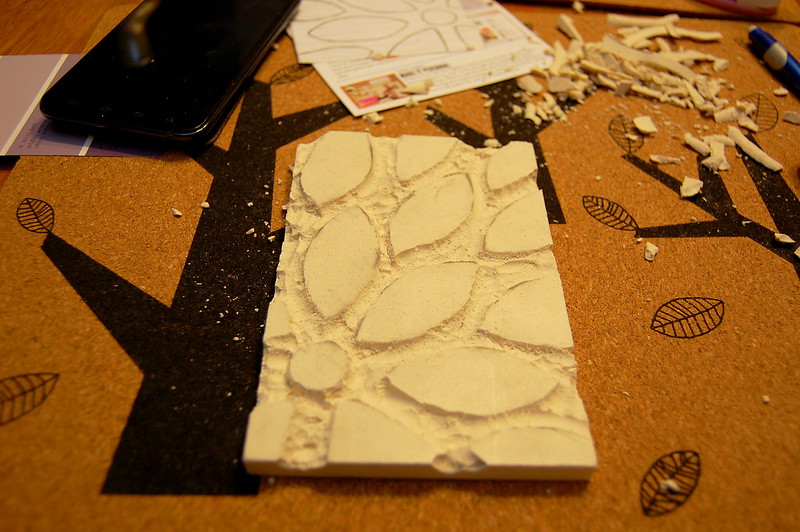
[Pro Tip: Clean up the mess before you get into the ink. You don't want chunks.]
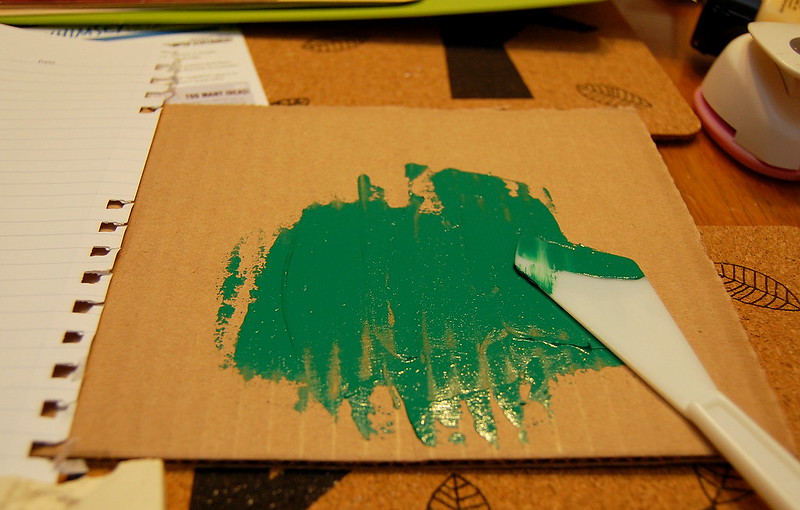
Take a spare piece of cardboard or a paper plate, the ink (provided), and the spatchula thingy (provided) and distribute an even layer of ink on the surface the size of your stamp.

Grab a couple spare pieces of paper to test on. Put your carved stamp design-side down into the ink, press firmly everywhere so make sure that the ink is distributed evenly and that any air bubbles get lost.
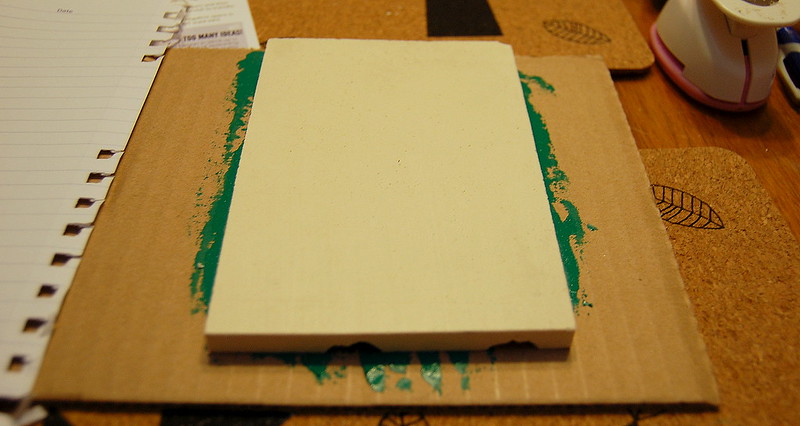
I used the spatchula to apply ink to any areas on the stamp that may have gotten missed.
Then test!
Press down EVERYWHERE!!!

Meh, could be better. I tried a few more times; trying to perfect the paint-to-stamp ratio until I felt comfortable enough to make a card with the cards provided!
Before:
After:

Yay!!! It worked! There were only a couple air bubbles/areas where I didn't press down hard enough, but overall I like the look, although I think I used too much ink.
Once it dried enough, the this ink does dry pretty quickly, I took one of my pre-fab stamps and made sure everyone knew this was my handy work.


Tada!!!

I just have to decide who to send it to!
This was a super fun project, and I can't wait to get my second Whimseybox in the mail in early November.
If Whimseybox is something that appeals to you I highly recommend signing up! AND, they just dropped their monthly box price back down to $15! These supplies would cost you at LEAST that much at Michael's or Deserres, and you don't get a kick ass box at the end to store all your stuff in! DO IT!!!
Happy Crafting!
Cheers,
-Melissa