Monday, August 27, 2012

Official Pinter*Mel Project #5: DIY Cut-Out Photo Art

The Inspiration: DIY Cut-Out Photo Art

The Process: 

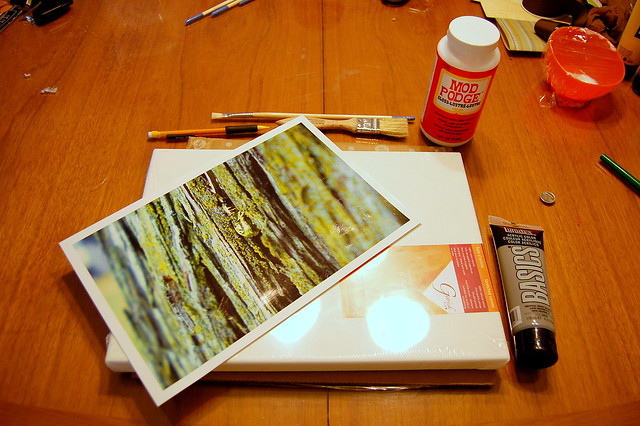
You will need: 
- one printed photo, an 8x10 would work well
- one canvas, of either same or slightly larger size than the photo 
- acrylic paint in the colour your choice
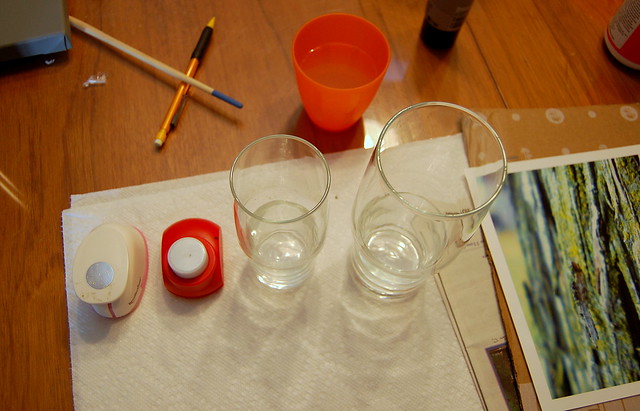
- 3-4 different sized circular items (i.e. drinking glass, hole punch, etc.)
- pencil or pen
- scissors
- Mod Podge
- 1 paint brush (for the paint)
- 1 sponge brush (for the Mod Podge) 


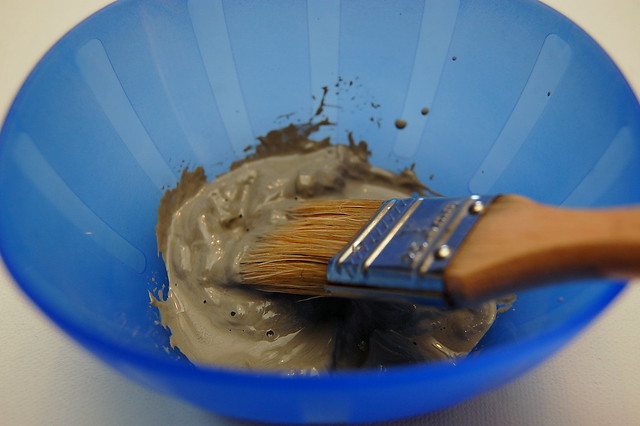
Firstly, squirt some of your acrylic paint into a little dish and add some water to it to thin it out a bit. This will help with even coverage on your canvas. 
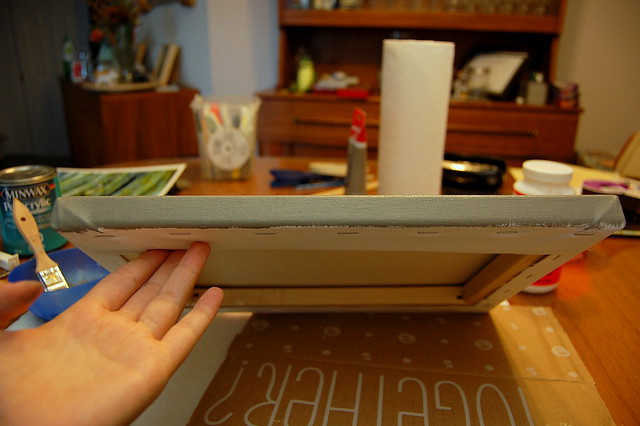
**Note: the Pinterest link shows a wooden canvas (as opposed to the fabric one that I have chosen). If you have chosen to use a wooden canvas, I recommend either staining the wood so it's sealed, or covering it in a thick layer of Mod Podge (which will also seal the wood) before starting.**


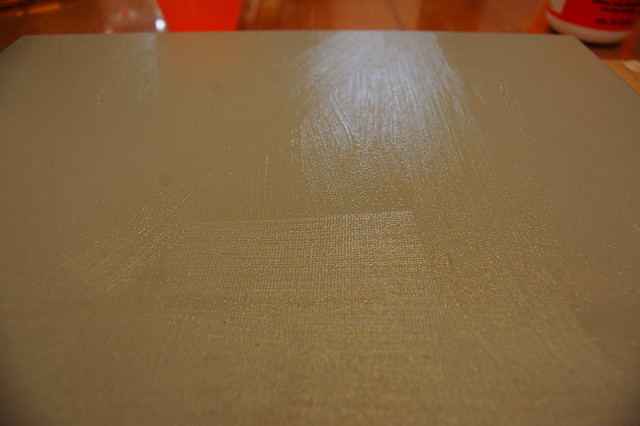
Make sure to do two coats. The first coat shouldn't take too long to dry; maybe half an hour. Also, don't forget to do the edges of the canvas too! 


While your second coat is drying, get out your 3-4 circular items for tracing. 


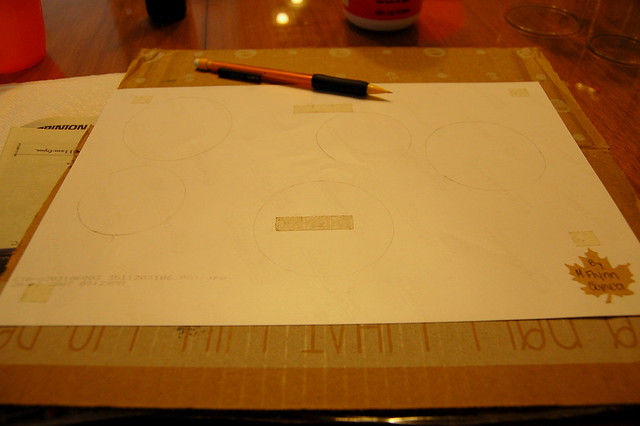
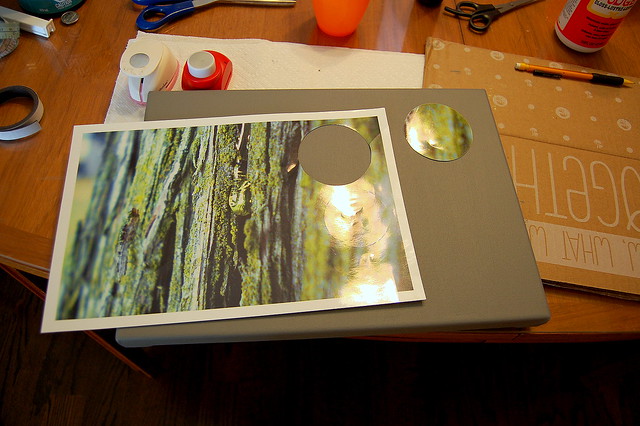
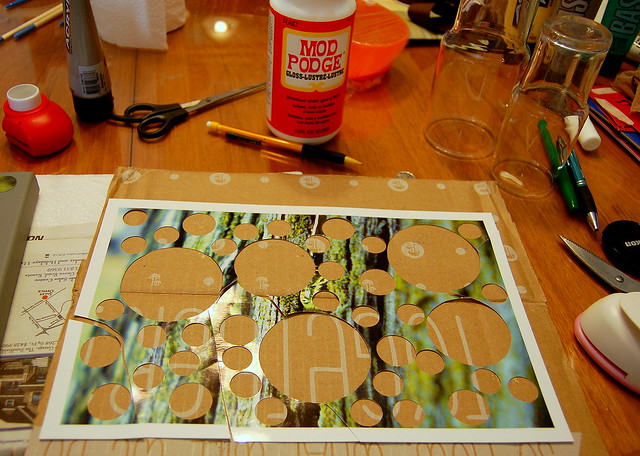
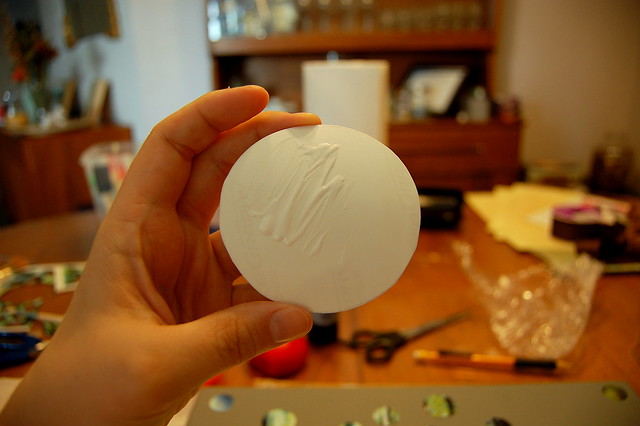
Start with the biggest circle. Flip your picture over and trace some strategic circles on the back of it. When I say strategic I mean that if there is a focal point in your photo you may wish to include this in one of the big circles. For example, in my photo the focal point is a big drop of sap, so I was sure to include at least a portion of that focal point in one of the big circles. 


Then cut the big circles out! 


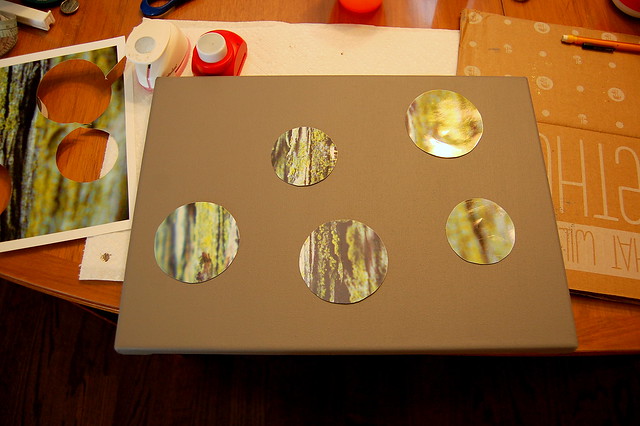
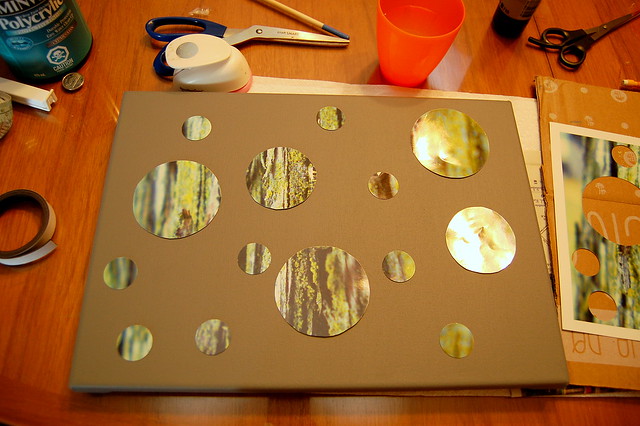
Make sure to place the circles on the canvas approximately where they were in the original picture. You want to be able to tell what the original picture was when you look at the final product. 


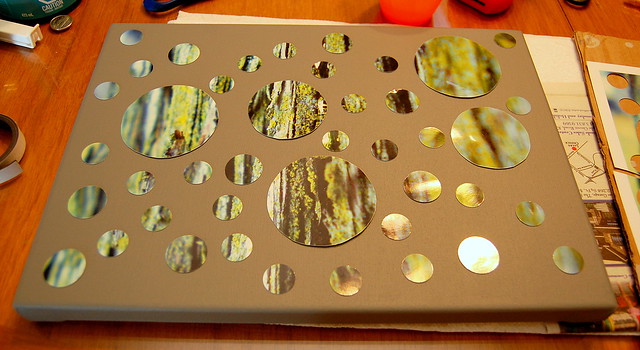
Now that your big circles are done, continue tracing with your smaller circles. You can cut out as many, or as few as you like. 


My photo was pretty abstract to begin with, so I opted to use more circles. Next time I do this project I will use a photo that is less abstract to see how that turns out. 


The aftermath: 


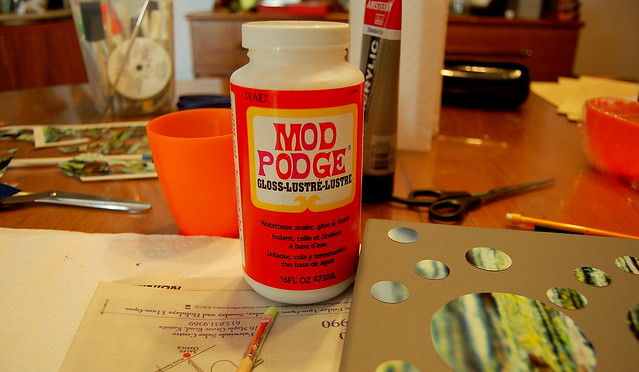
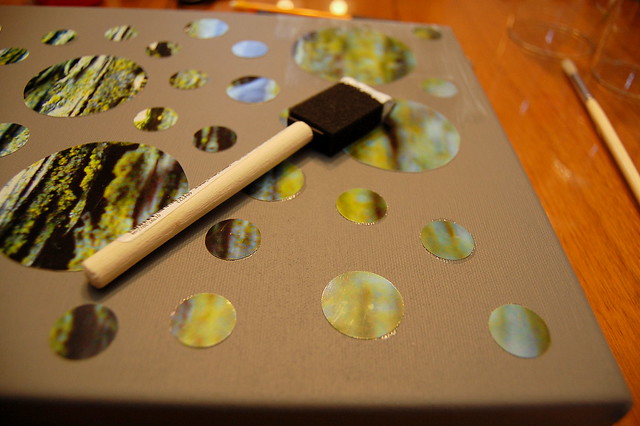
If your canvas is 100% dry, start Mod Podging your circles onto it! 


Once you've Mod Podged them all into place wait about 30 minutes for them to completely dry. 
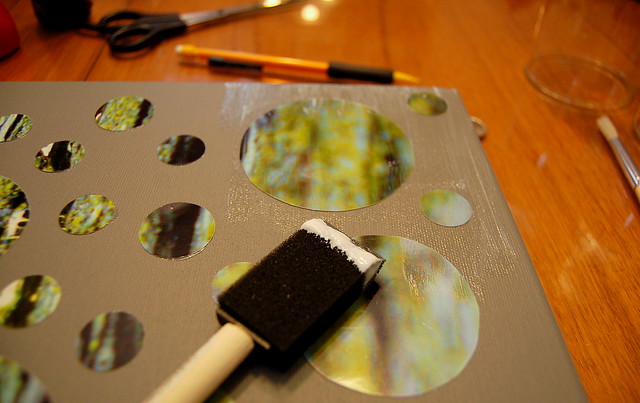
After they are all dry, go over the entire canvas, over the circles and all, with a layer of Mod Podge. (I did two layers, but that's completely up to you.)


Don't forget to Mod Podge the sides of the canvas as well! 

Now let it dry to a beautiful, sealed, shine. 

That's it! You're done! 

Ta Da! 


Total Approximate Cost: 1 canvas - $6-$8, Photo Print - $1.00. Total = $7-$9
(The paint and the Mod Podge I already had laying about from other projects.)

Have you done a project like this? Did you do the wooden canvas version? What kind of photo did you use? Which ones work best? Please comment below, or tweet me @PinterMel

Cheers! 

-Melissa

Monday, August 20, 2012

Official Pinter*Mel Project #4: Wooden Letter Vertical Wall Sign

The Inspiration: Family Name Banner on a Ribbon

The Process: 

You will need: 
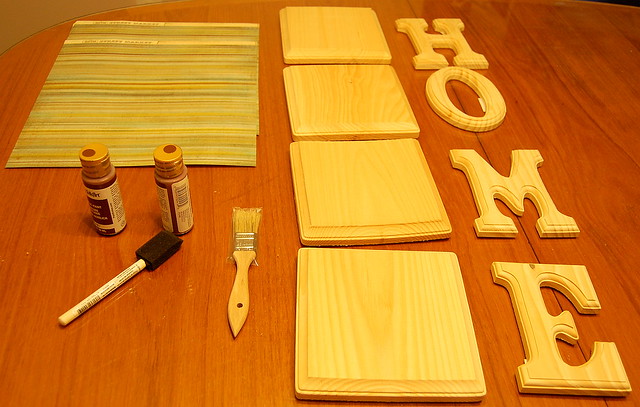
- 2 paint brushes (one smaller for detail, and one bigger for larger surfaces)
- Acrylic paint in the colour(s) you want your square wood pieces and wooden letters
- 4 pieces of scrapbook paper in the design of your choice
- Mod Podge
- Spool of 2 inch thick ribbon in colour of your choice
- Spool of super thin ribbon in colour of your choice (optional)
- 1 D-ring
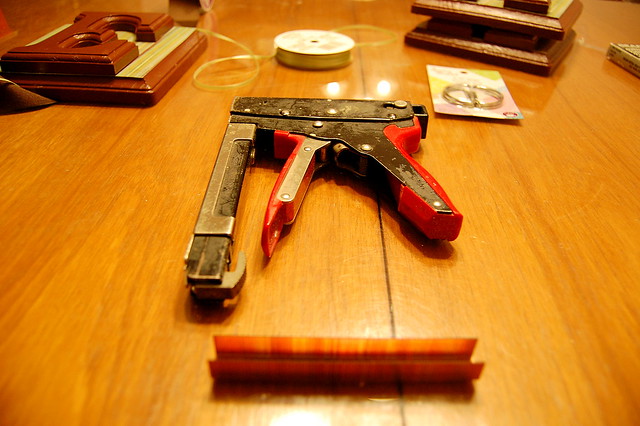
- Staple gun


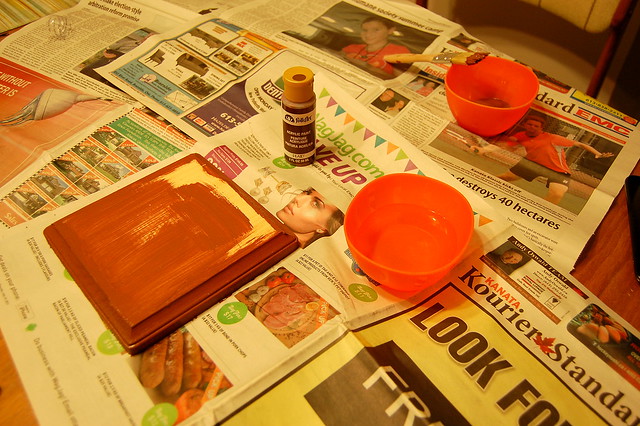
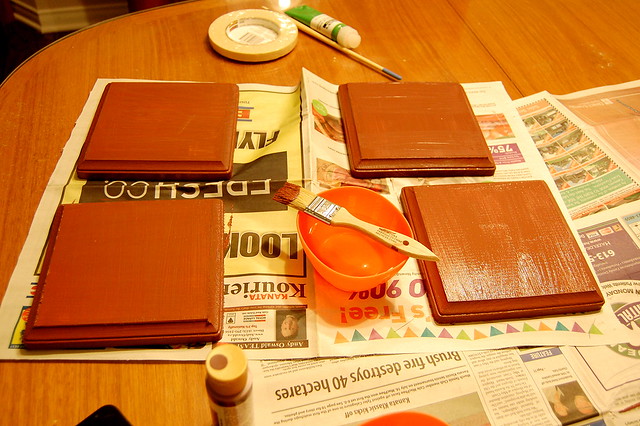
Start with painting the wooden plaque pieces.


Pro Tip: Make sure to add some water to your brush, and a little bit to your paint. This will help the paint go on smoother and will give you much better coverage. Also, your paint won't run out as quickly. 

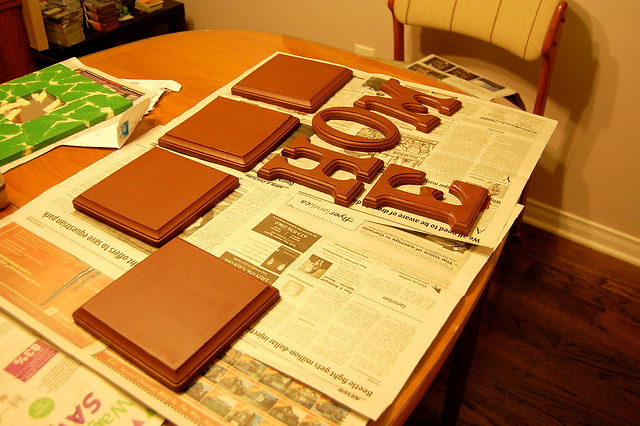
Throw a second coat on for perfect coverage. Do the same to your wooden letters. 


Let those dry for an hour or two. Acrylic really doesn't take too long to dry, but you don't want to mess up the paint job by being overzealous. 

Pro Tip: While waiting for your paint to dry I recommend grabbing a quick nap, or taking a nice relaxing bath with a Purple Urchin bath cube dropped in. 

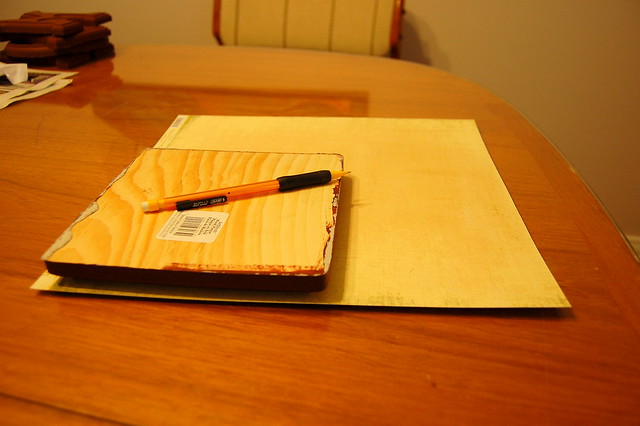
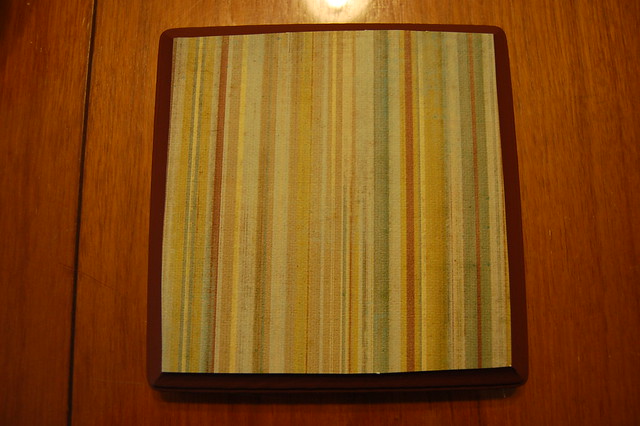
Once dry, you can start tracing and cutting out the scrapbook paper for your background. 
Flip the wooden piece over so the raised portion is face down. Take your trusty mechanical pencil and get right in there. 


If the scrapbook paper doesn't fit perfectly just give it a little trim. Tracing isn't an exact science. 

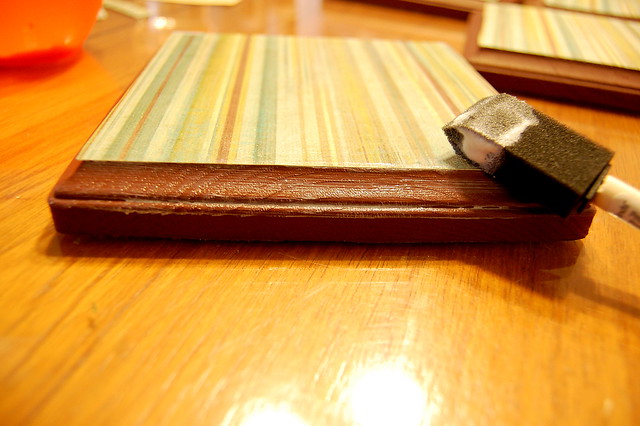
Now bust out your Mod Podge and glue that paper to that wood! 


Get that Mod Podge EVERYWHERE!!! On top of the paper, on the exposed sides of the wood. ALL OVER!!!


So now wait for all that Mod Podge to dry. It could take a little while, so take this opportunity to go do something else for an hour or so. 

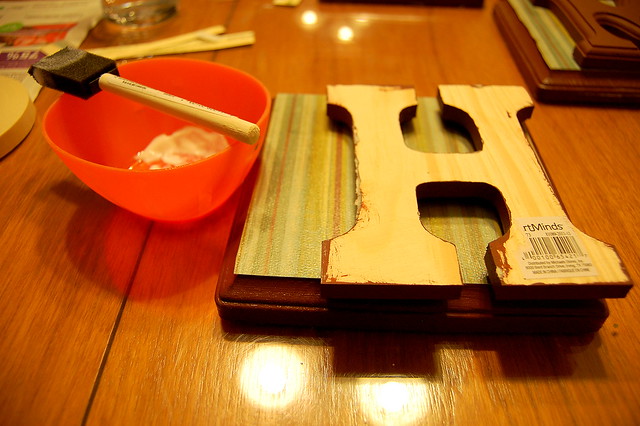
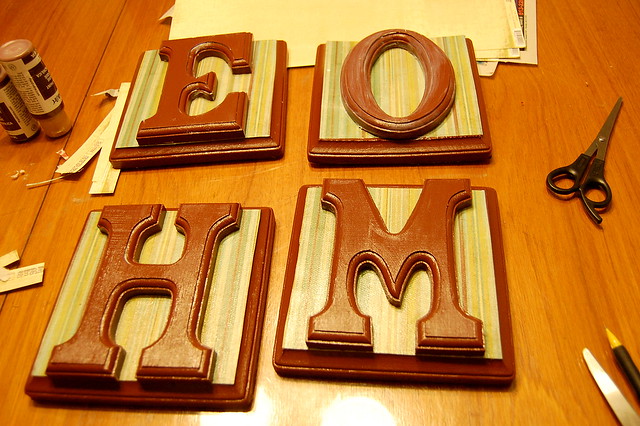
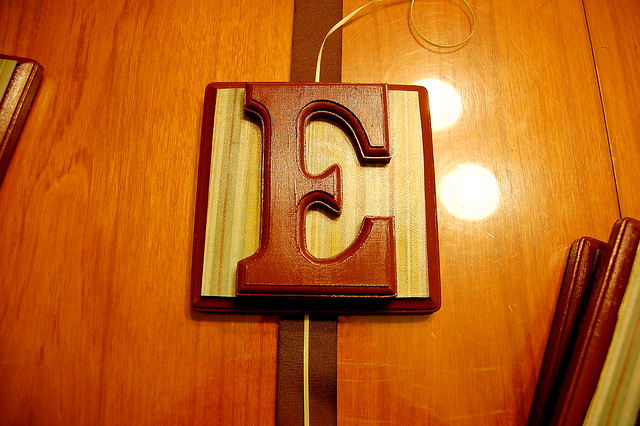
Alright, now that everything is dry, we're going to bust out even more Mod Podge by affixing the letters to the middle of the wooden plaque pieces, and then covering the letters in Mod Podge. 


Voila! I let these dry overnight before I started attaching them together with the ribbon and staple gun. I didn't want anything to ruin that perfect Mod Podge sheen. 

Alright here comes the technical and slightly dangerous part of all this fun; measuring and stapling your ribbon to the back of the wooden plaque pieces while attempting to space the pieces out evenly. 

First get an idea of how you want it to look once the ribbon is affixed to the back. 


Pro Tip: If you're a kid, or just kinda accident prone, get another adult to help you to use the staple gun. It doesn't mess around. 


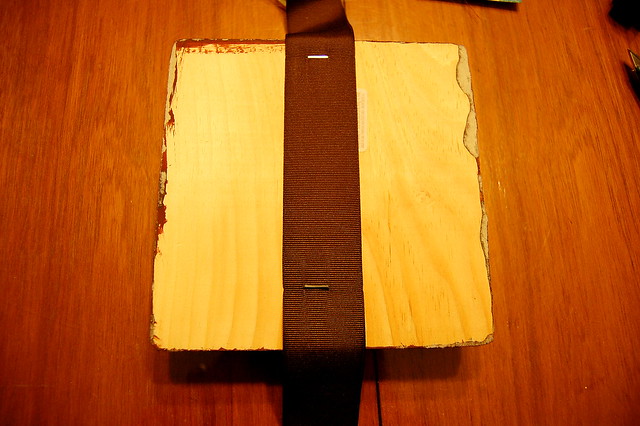
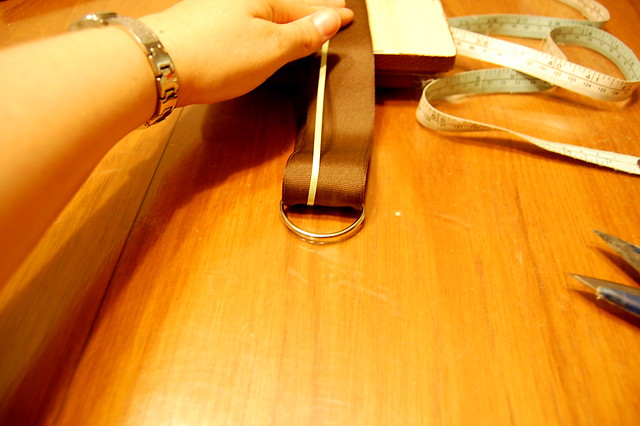
Carefully flip the ribbon and the wooden plaque upside down. Start with the last letter of your word first, and make sure that you leave at least 6" of ribbon at the bottom. 


Now carefully staple the ribbon into place. 

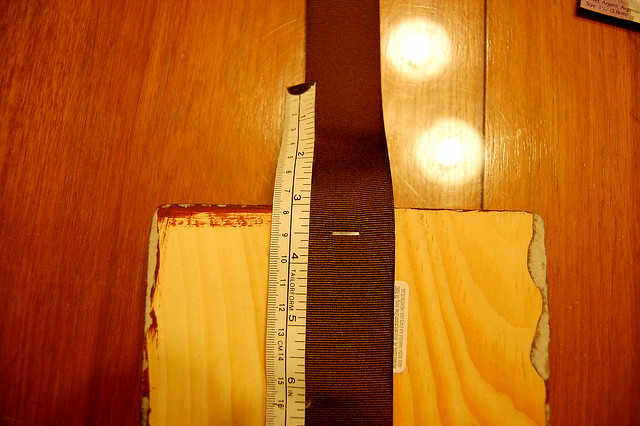
Next, grab a measuring tape and measure out where you want to put the next wooden plaque. Use a piece of chalk to mark it. I spaced mine 3 inches. 


Keep stapling and measuring until all your plaque pieces are attached. 


Make sure you leave about 1.5 feet of extra ribbon at the top, as you are now going to feed the D-ring onto it, fold it over, and staple the remaining ribbon to the back of the first wooden plaque piece. 


Now staple that remaining ribbon REALLY well because it's where the majority of the weight is going to rest once it's hung on the wall. 


As a finishing touch, cut the bottom left-over ribbon in a V shape. 

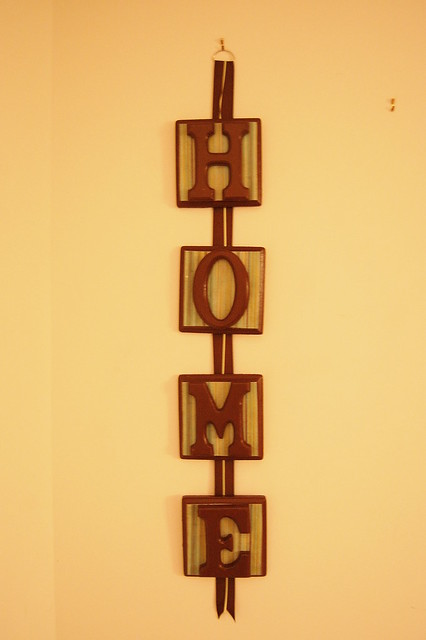
That's it! You're done! Now go hang it!

Pro Tip: Hang it on a stud, it's not light! 


Total Approximate Cost: Wooden Plaque Pieces - $5/ea, Letters - $3/ea, Paint - $4/ea, Paper - $1.50/ea, Ribbon - $5/ea, D-rings - $3. Total = $65

This was definitely the most expensive project I've done to date. It's worth noting that the wooden pieces were quite pricey, and had I done some shopping around first I most likely could have found them for much cheaper elsewhere. That being said, this was given as a gift to my future sister-in-law, and quality was definitely important! 

Have you done a project like this? Where did you find your materials? Was it cheaper than this? I want to hear from you! Please comment below, or tweet me @PinterMel


Cheers!


- Melissa
Friday, August 17, 2012

Official Pinter*Mel Project #3: Wooden Block Magnets

The Inspiration: DIY Dishwasher Magnet

The Process: 

Note: I deviated from the Pinterest pin in that I didn't use Scrabble tiles. Unless I can get Scrabble tiles easily and in bulk somewhere I like my Scrabble tiles where they are currently; with my Scrabble game. 

You will need: 
- small wooden craft blocks

- Pencil
- Sharpie marker
- Mod Podge
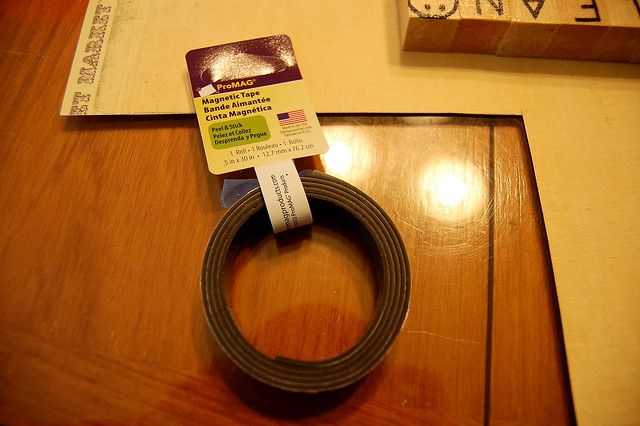
- Magnetic tape
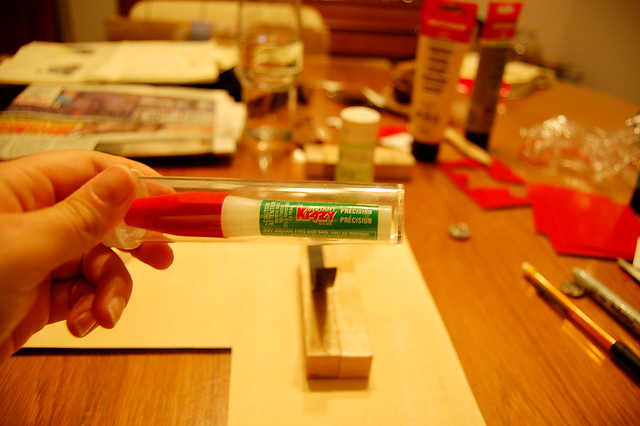
- Krazy Glue (optional)

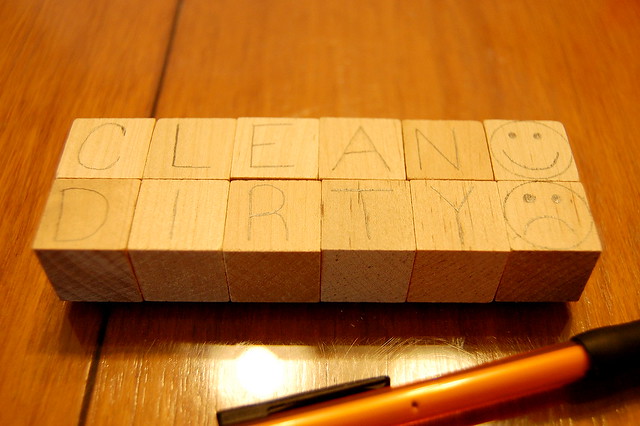
First I traced my letters onto the blocks using my trusty mechanical pencil. You don't *have* to do this, I did this because I didn't want to risk ruining a perfectly good cube with my sometimes horrific printing. 


After I finished tracing I then went over it with my Sharpie marker. 

Pro Tip: Don't use a Sharpie Marker. It will bleed into the grain of the wood and distort your letters. Use letter stickers instead. 


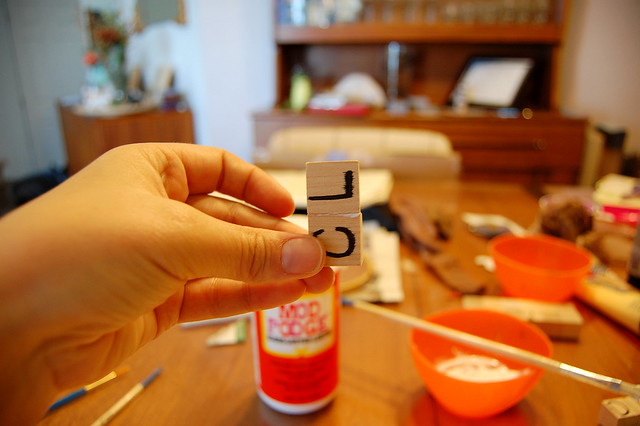
Now start Mod Podging everything together!!!


Pro Tip: I recommend gluing them together in sections. That way you don't risk the blocks being misaligned. 


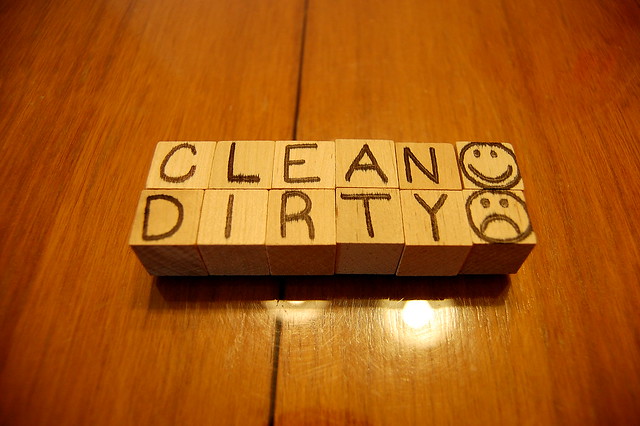
Once the Mod Podge is dry on your sections, glue them together to create you "Clean :)" and "Dirty :(". 


Once your two columns are dry, you can proceed to stick them together to create one column. 

Pro Tip: Make sure you glue them together correctly, so that when you flip it around the word you desire is upright. Otherwise, this whole project is moot, and you end up with a bunch of blocks stuck together that serve absolutely no purpose. 


Now stick'em together, and cover it all with a thick layer of Mod Podge to seal the wood. 

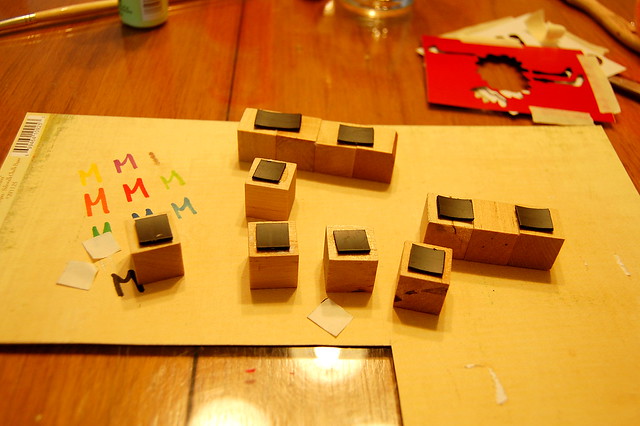
Once dry, whip out your magnetic tape and cut two pieces just slightly shorter than the length of your wooden blocks. 

Pro Tip: Use the strongest magnets you can track down. The stuff I used was kinda meh, but it was super cheap. 


Now Mod Podge (or optionally Krazy Glue) those two magnetic strips to the back of your wooden blocks.

Pro Tip:  If you are using magnet that came in a roll you will have to hold down the two strips on the wood until the glue is almost dry otherwise they will curl and you'll have to start the gluing process all over again. Lame. 


Once the glue is fully dried you're finished! Now go stick that beautiful and useful magnet to your dishwasher!


Ta Da! Now you know when the dishes are clean or dirty without having to open the dishwasher! 

Total Approximate Cost: Wooden Blocks - $5, Magnetic Tape - $3, = $8
(Everything else I had laying about already from previous projects.)

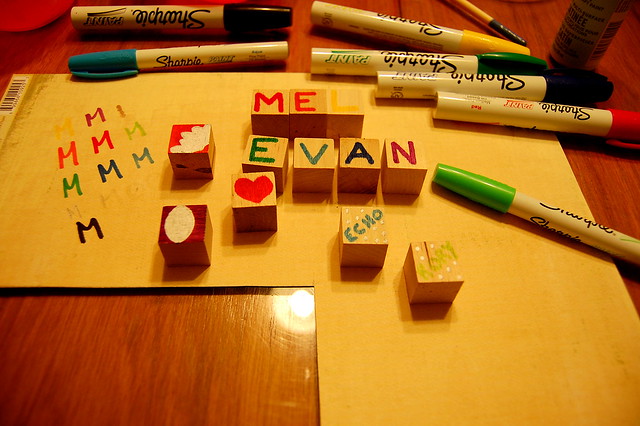
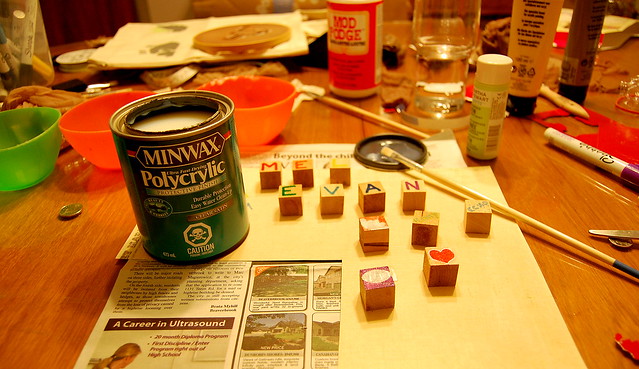
I had a bunch of leftover blocks, and felt that my fridge could use some lovin' as well. I used my Sharpie Paint Markers for these, and they definitely bled less than the regular ole Sharpie. 


Also, to seal them, instead of using Mod Podge on these ones I used Minwax Polycrylic. This finish maintained a natural look on the wooden blocks, whereas the Mod Podge creates a gloss finish. 


Then I Mod Podged them together, and stuck some magnets on the back. 


Then once they were dry I stuck'em to ye olde refrigerator. 


Pro Tip: (more like Derp Tip, but I digress) Make sure the glue is super dry before sticking your magnets to the fridge. Otherwise the glue will give way and they will come crashing to the floor, and you will have to glue everything back together again. Just sayin'. 


Have you ever done a magnet project like this? What cool magnets did you make? Do you have any Pro Tips (or Derp Tips, I'm not picky, and knowledge is power) to share that could improve this project? Please comment below or reach me on the Twitter @PinterMel


Cheers! 


-Melissa