WAIT FOR IT.....
.
.
.
.
.
.
I GOT ENGAGED!!!
So now all that creepy wedding pinning I do on Pinterest can be for real!!! Yay!!! So expect this blog to take a DIY Wedding turn come January 2013.
Anyways, back to the craft at hand.
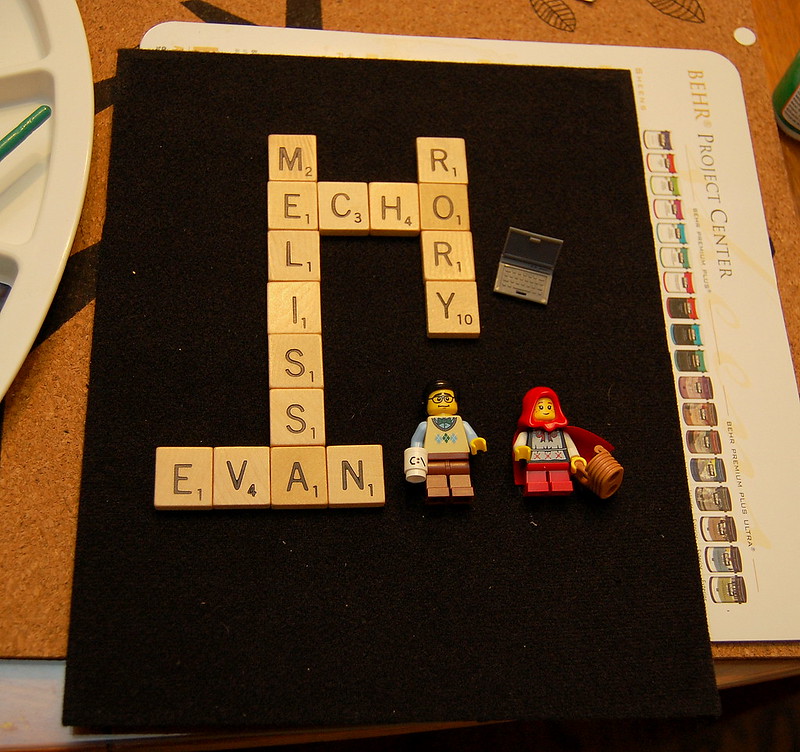
The Inspiration: Scrabble Tile Family Signs
First thing I did was hit up eBay for a killer deal on 500 vintage Scrabble tiles. Bonus; they were from Quebec, so a) I didn't wait 2+ weeks for them, and b) I didn't get hosed by US shipping.
Then once I picked out all the tiles for the Scrabble tile family signs (which was more painstaking that you think, Y's are few and far between and extremely popular in pretty much all names), I moseyed over to my local purveyor of shadow boxes and emptied their stock (and for the record, they're still out).
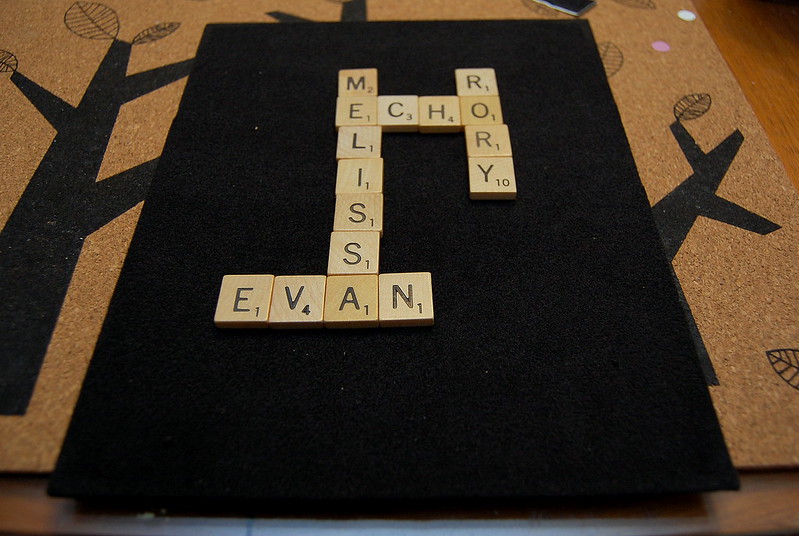
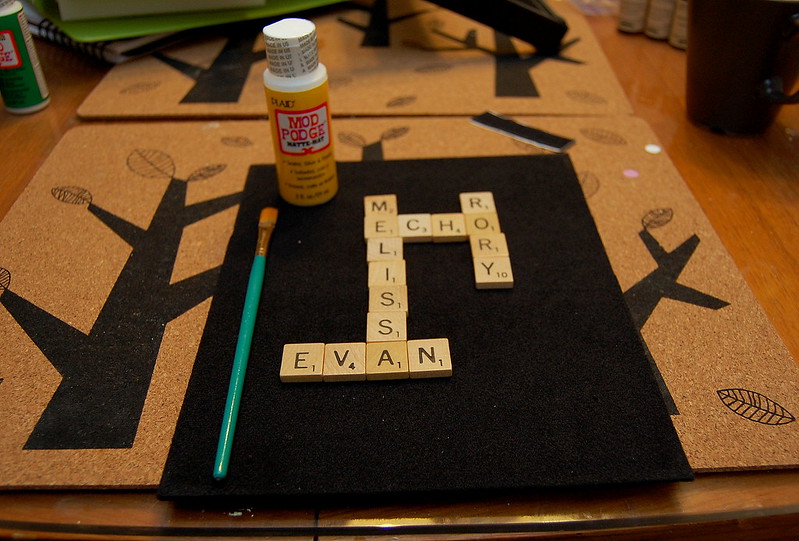
Then I laid out the Scrabble tiles on the matting and centre them as much as possible so it doesn't look lopsided.
Once satisfied with placement, I used Mod Podge Matte to affix the tiles to the matting.
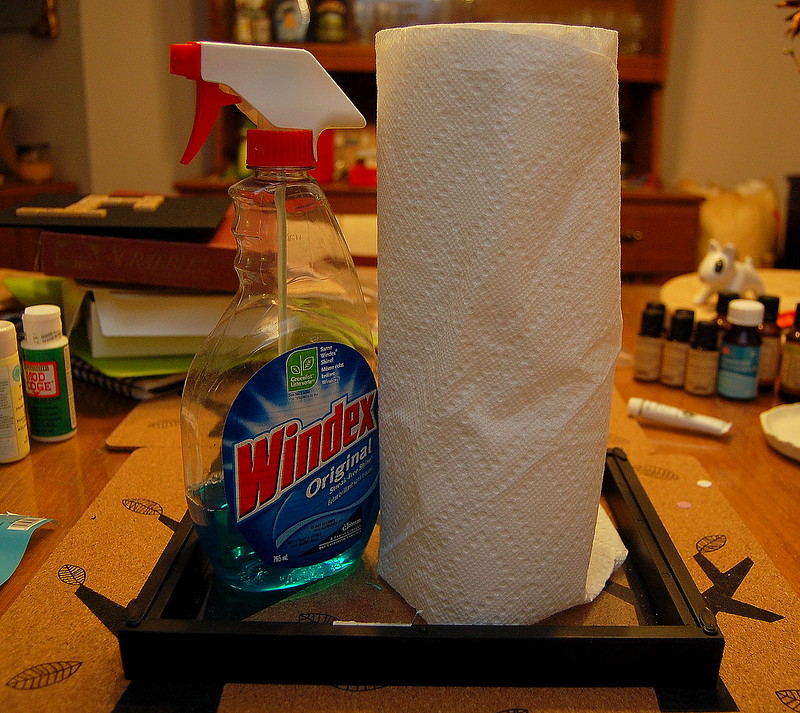
While waiting for the tiles to finish drying, I Windexed the crap out of the glass.
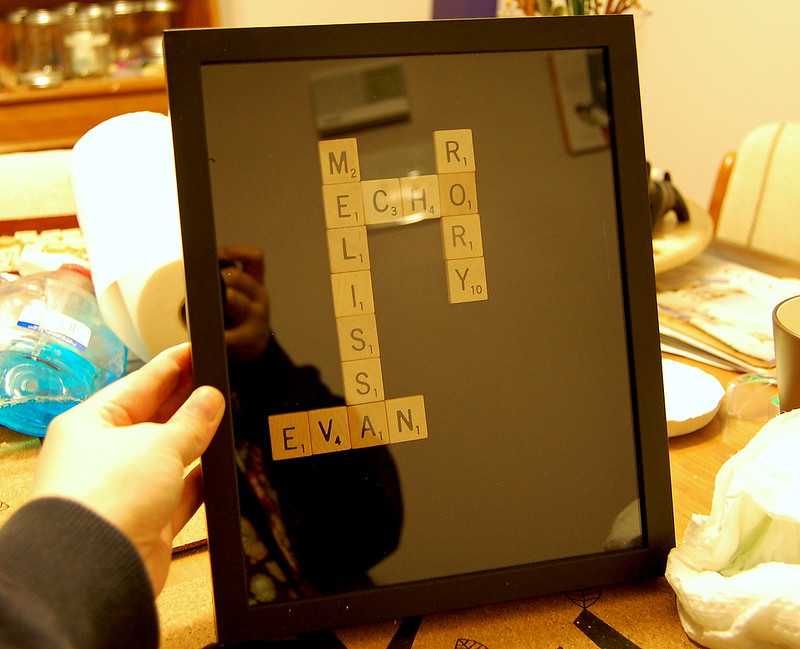
Then popped the matting back into the shadow box and voila!
But wait, there's all that blank space in the bottom right-hand corner, something needs to go there...something both my fiancé and I love....
LEGO!!!
I used Glue Dots and Mod Podge Outdoor to get these Minifigs to stay put.
Yay!!! Much better.
My parents came up to Ottawa the day after we got engaged, so I decided to make them a Christmas ornament.
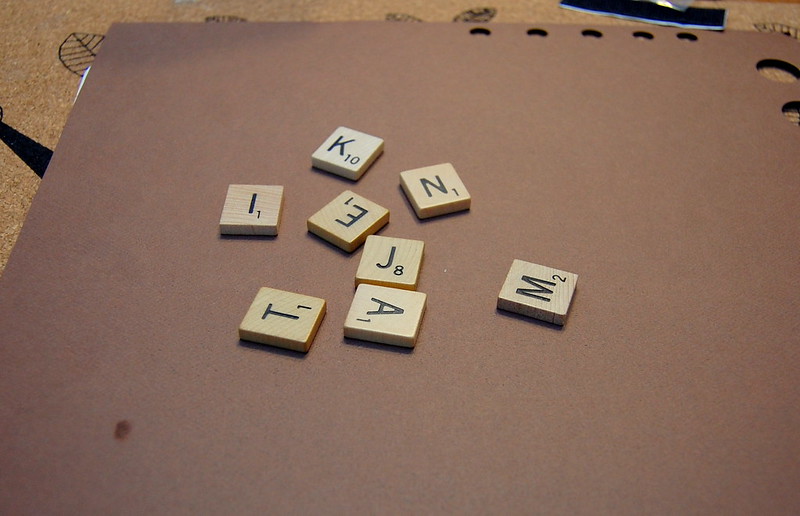
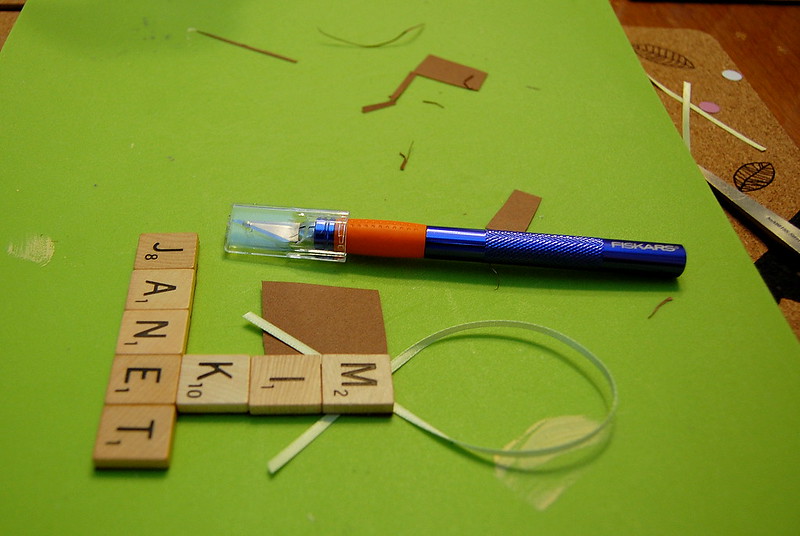
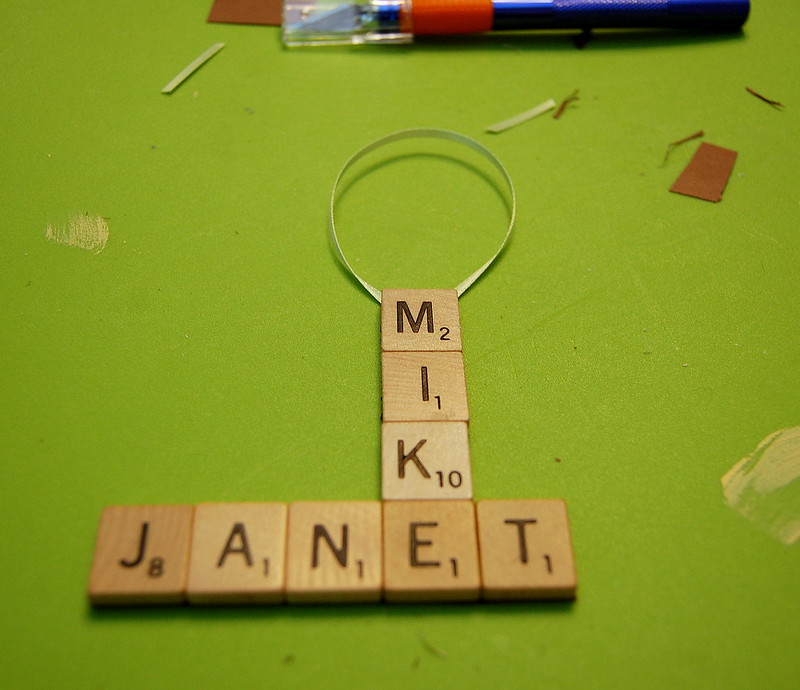
First I dug out the letters. J, also difficult to find!
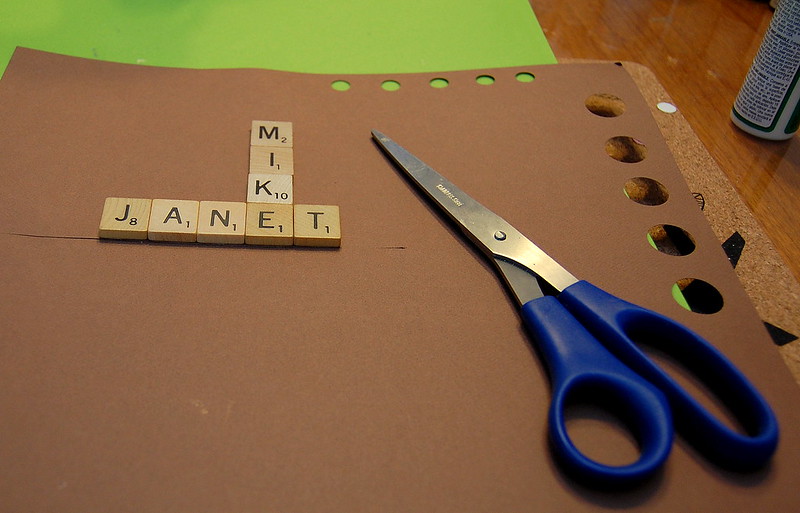
Then I glued them to a piece of card stock using Mod Podge Matte.
After they were completely dry I cut them out using plain ole scissors, and my razor to get in the edges.
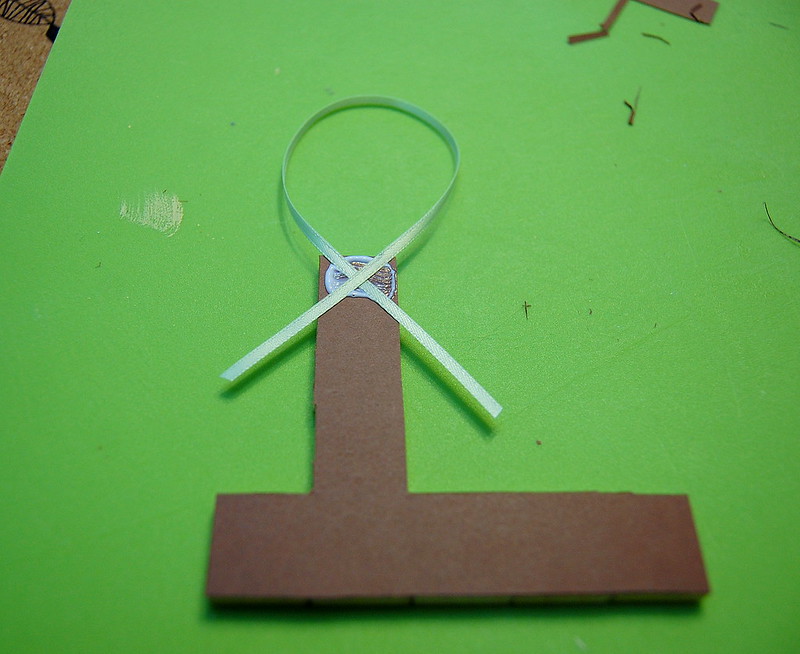
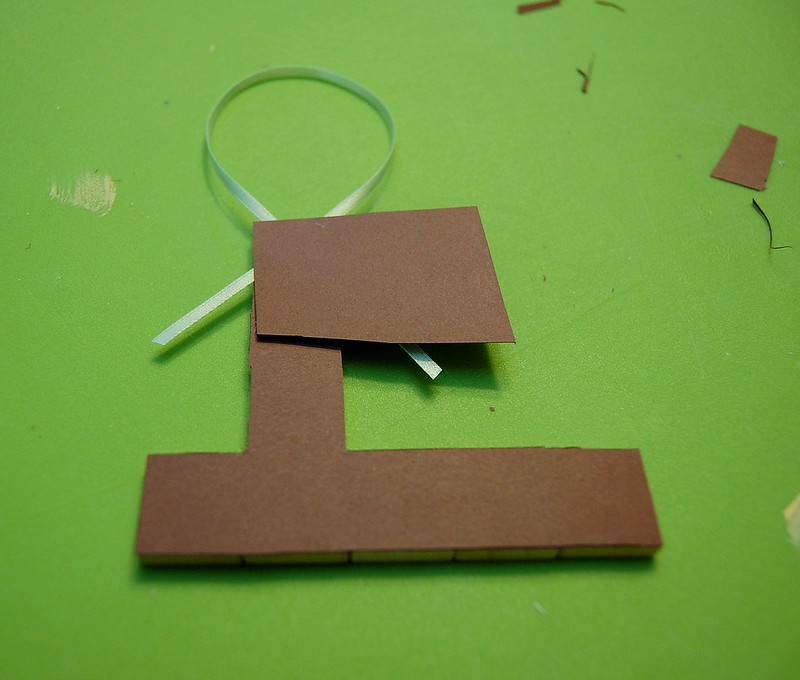
I used a piece of ribbon for the ornament hanger. Cut a piece long enough to fit around a tree branch, glued it down in a criss-cross on the back of the ornament.
Then to secure the ornament hanger I cut out another piece of card stock and stuck it to the back of the ribbon and ornament; making a ribbon sammich.
Trimmed off the excess using my razor.
And there you have it! An adorable, personalized, Christmas ornament!
For all you crafty types who are looking for something ridiculously simple, yet awesome, to do with your children for Christmas presents this year, THIS IS IT. Seriously, paper, glue, Scrabble tiles, and some ribbon. That's it. You are only limited by your imagination!
Have you used Scrabble tiles, or any other game tiles or computer keys to make something personalized? If so, please share in the comments below, I'd LOVE to hear about your projects!
Cheers,
-Melissa




No comments:
Post a Comment